Steps to follow
Install Windows 11: Clean installation of Windows 11 step by step
Below you will find all the steps to install Windows 11 with images. You will see that the installation process of Windows 11 is quite simple.
Note: Make a backup of all of your files before you begin.
Please click here to see how to create a Bootable USB or DVD.
After downloading the Windows 10 ISO file and creating bootable media. You will be able to restart and:
Note: Make a backup of all of your files before you begin.
Please click here to see how to create a Bootable USB or DVD.
After downloading the Windows 10 ISO file and creating bootable media. You will be able to restart and:
1. Use the USB stick or the Windows 11 installation DVD disc to boot the computer and initiate the Windows 11 installation.
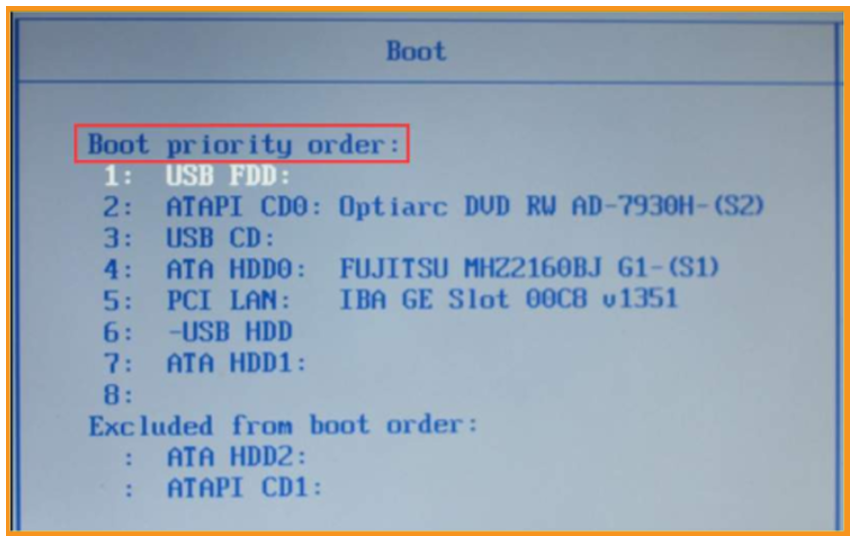
2. A notification will appear shortly after you power on your computer, instructing you to press a button to pick the boot device (EXP:Press F12 to Choose Boot Device”). Press the key displayed to access the boot menu. The BIOS Utility Setup screen will show up.
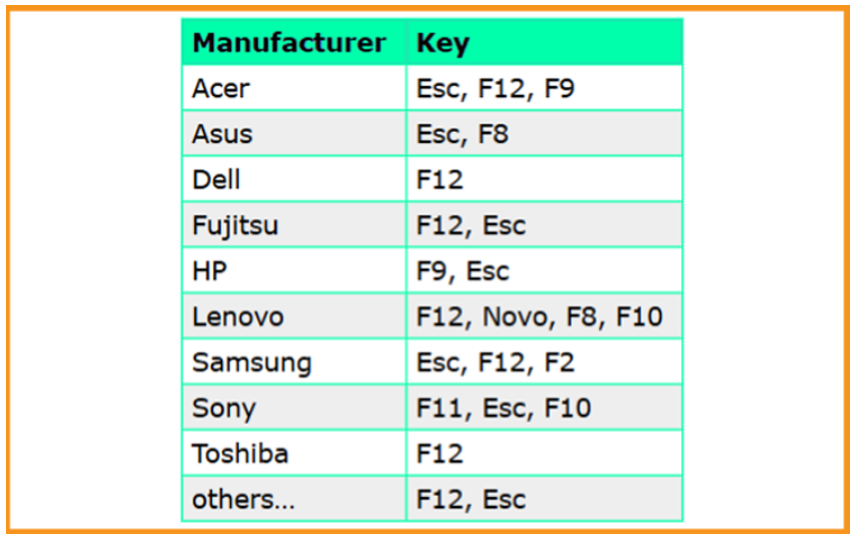
Check to see if you can locate the key for your computer. Visit your PC manufacturer's website if it isn't listed here.
3. You should now see the following: “To boot from a CD or DVD, hit any key...”
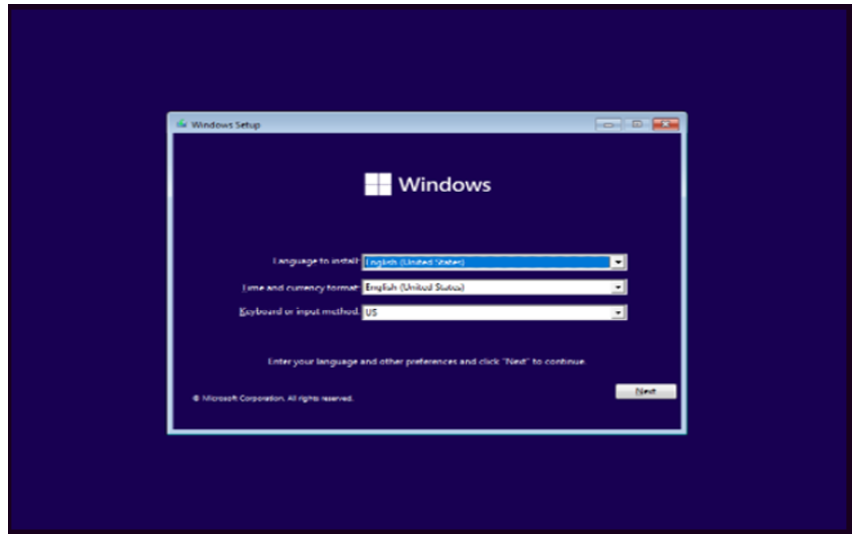
4. From the Windows Setup screen, select your language, time, and keyboard layout. Then click “Next” to continue
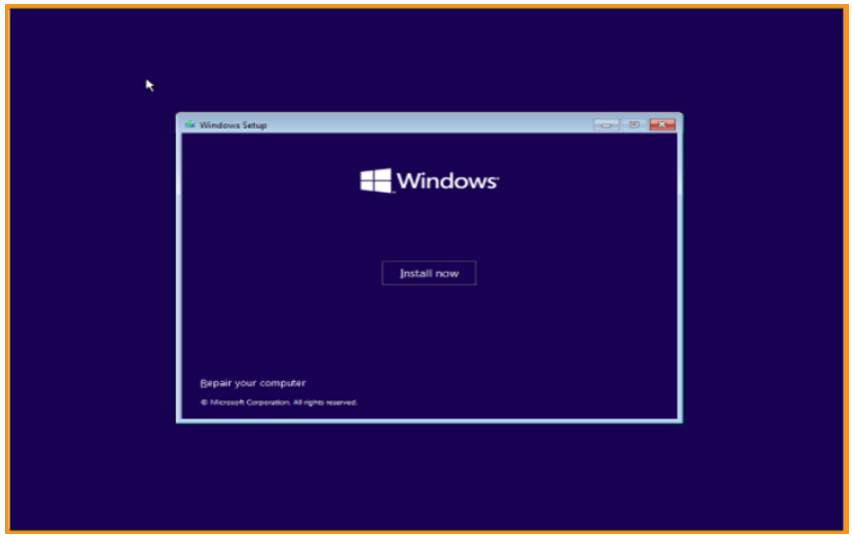
5. Click on “Install Now”.
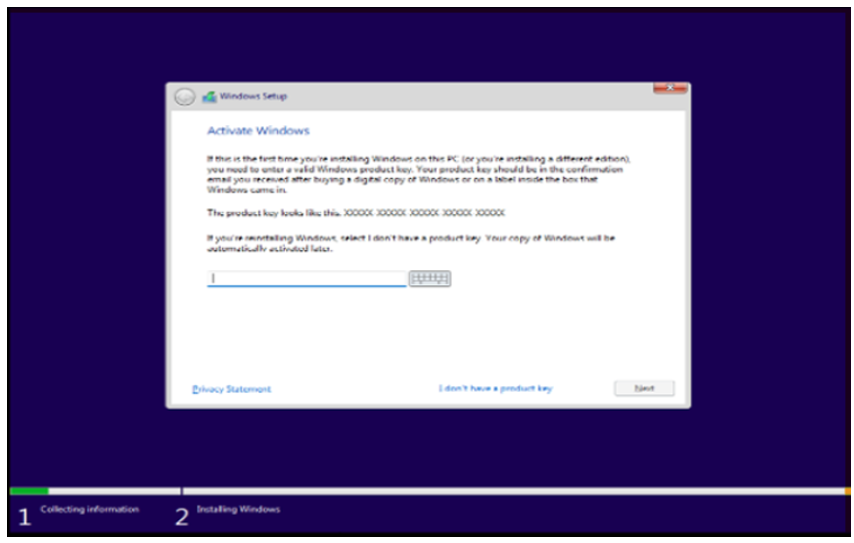
6. You can now enter your product key (25 characters) and click "Next”, or click on “I don’t have a product key” if you want to activate after the installation.
7. Choose the edition of Windows 11 then click on Next.
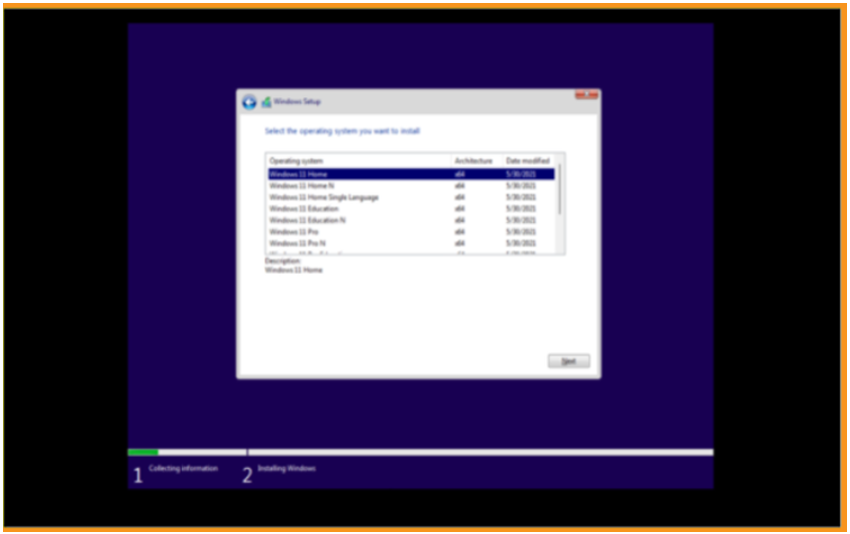
PS: Make sure the edition you select matches your licensing key.
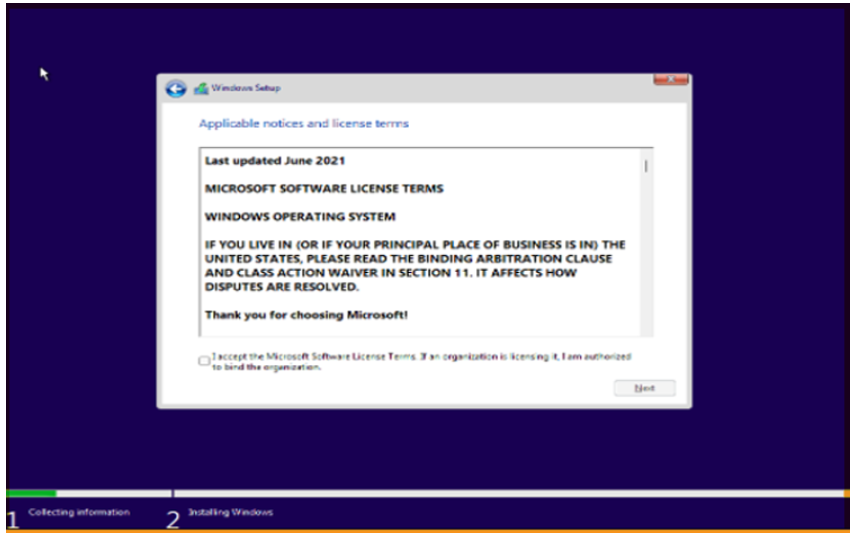
8. Accept terms and conditions then click on Next
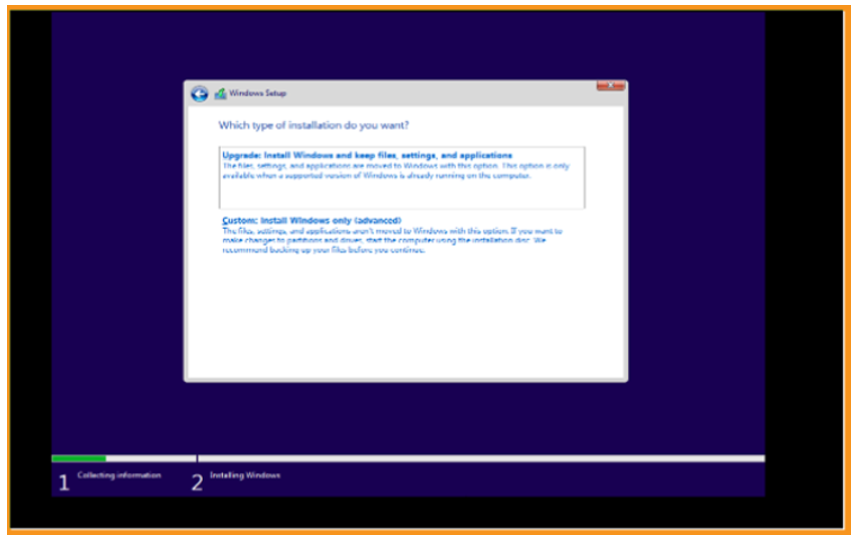
9. Select the installation method you require:
Upgrade: if you want to keep your files settings and applications
Custom: If you want to run a fresh installation of Windows 11, delete, format or add a new partition
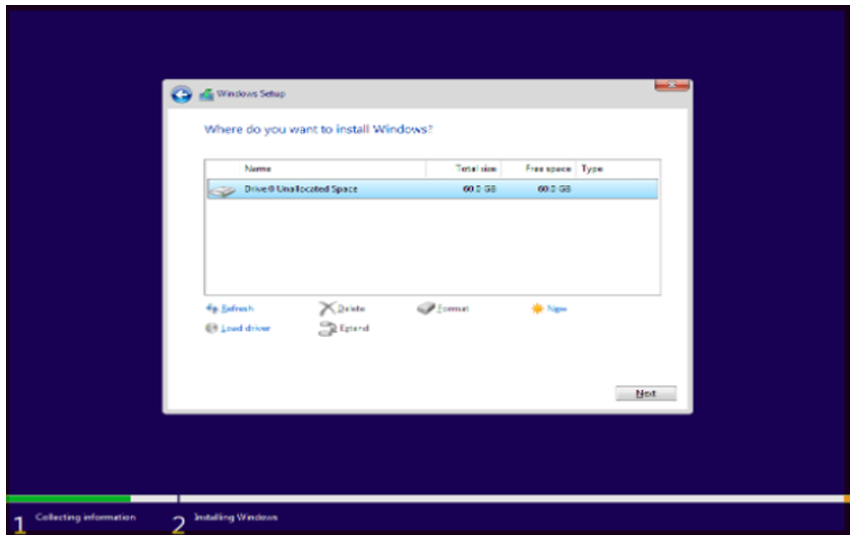
10. Choose the partition where you want to install Windows 11 then click on Next
You can also delete or format the partitions then create a new one(s).
PS: Make sure to backup all your files before starting the installation
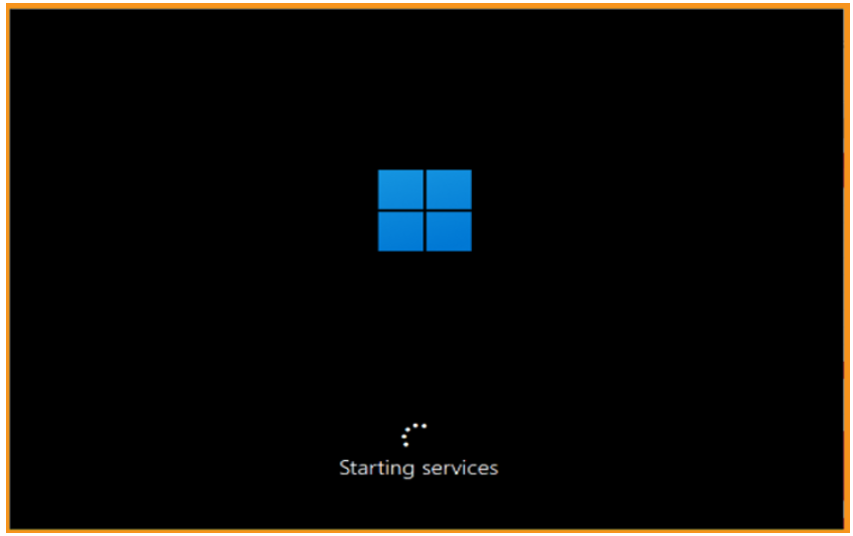
The installation is progressing now. Let’s wait for it.
Your PC will restart many times during the process.
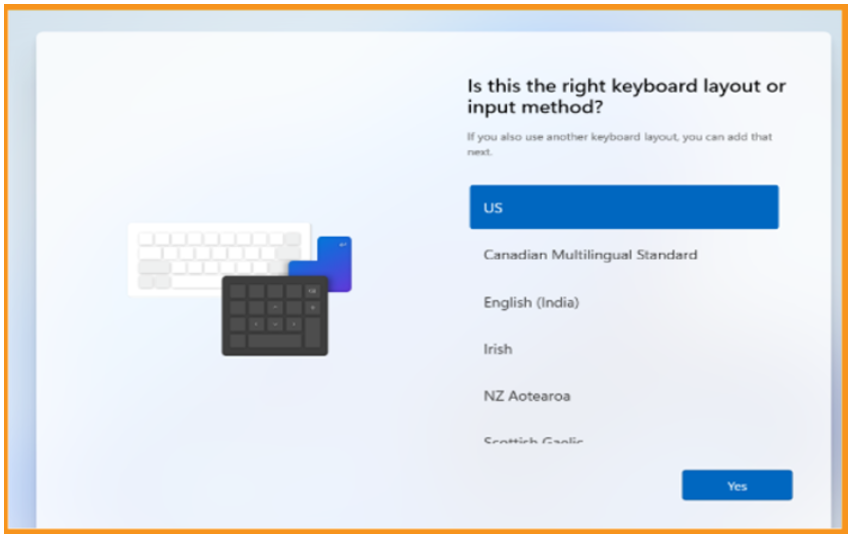
11. Now, choose the layout of your keyboard then click on Next.
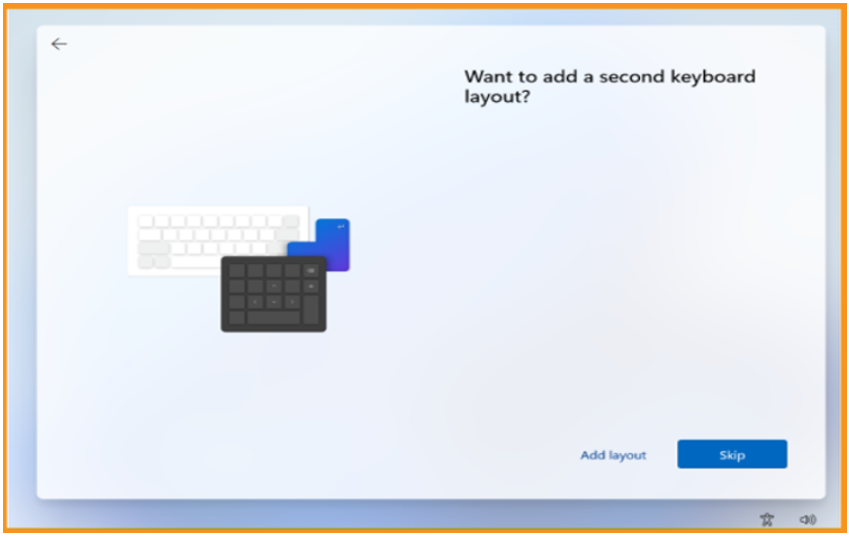
12. If you want to add a second Layout click on “Add layout”. If you don’t want to, just click on Next
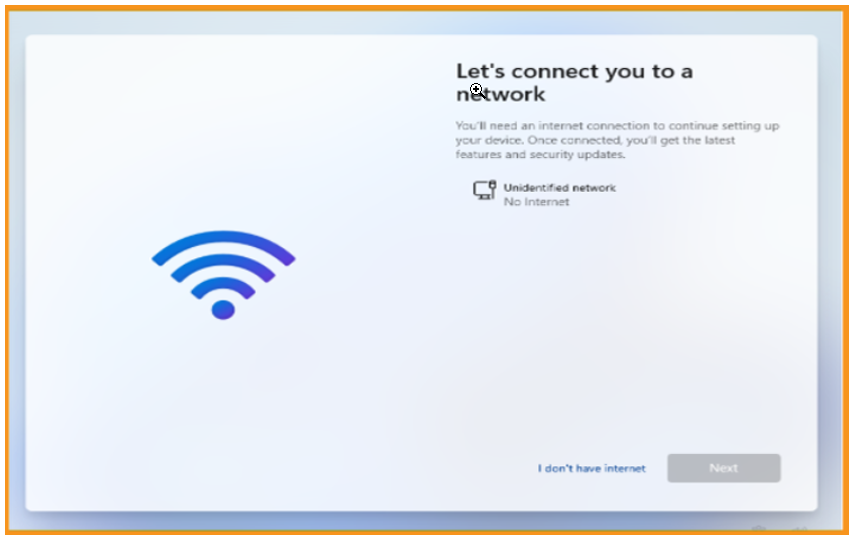
13. Connect to your Wifi or plug your ethernet cable to set up your Microsoft account. If you don’t have internet access, you can click on I don’t have internet.
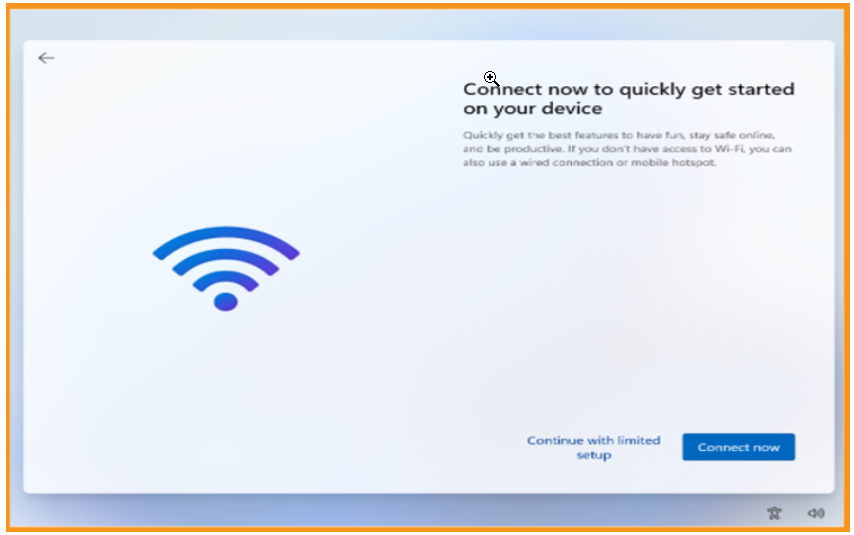
14. You can click on Connect now quickly to get the best features or you can click on Continue with limited Setup if you want to do it later
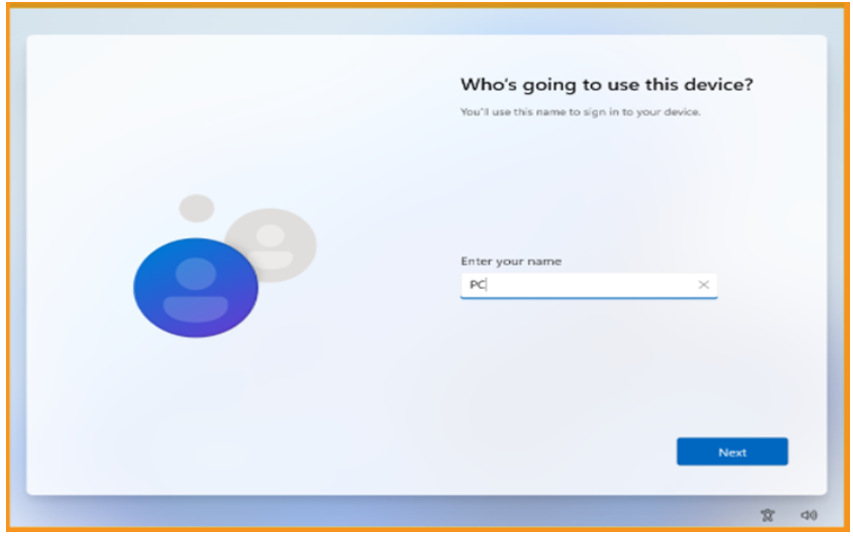
15. Type a name for your PC then click on Next.
16. Choose the privacy settings for your PC then click on Next.

Wait for a few moments while it is getting ready

It may take a few minutes!
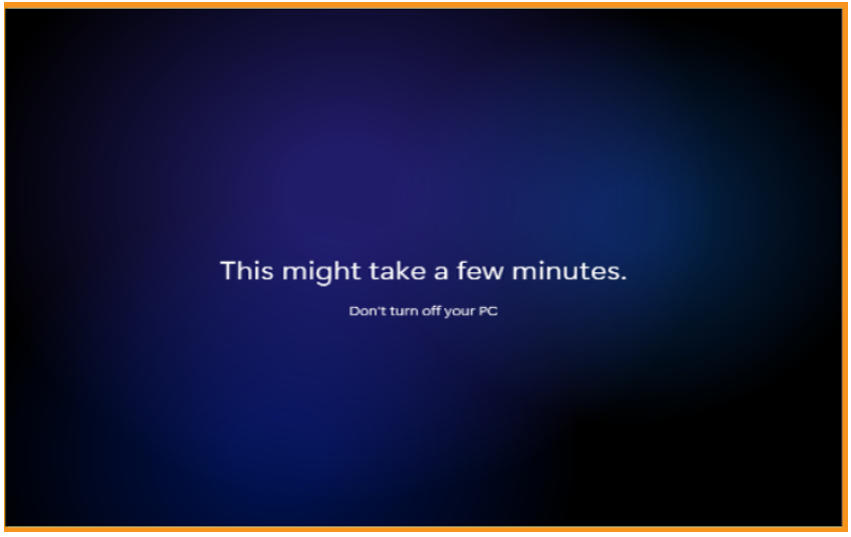
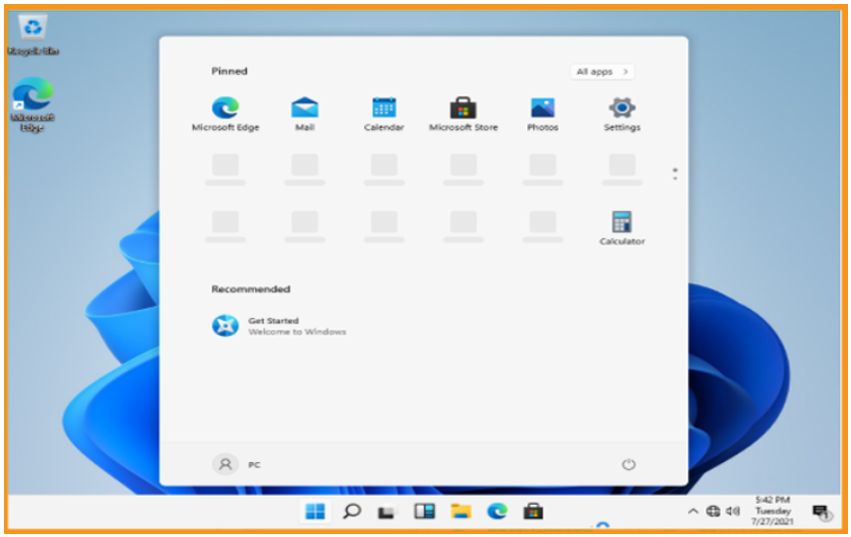
Done! Our Windows 11 is perfectly installed. You can now enjoy your new operating system.
Activate Windows 11: Step by Step
If you have Windows 11 installed but it is not activated, please use the steps below to activate it.
Note: In order to activate your copy of Windows 11 software, you will need a 25-character license key. You will not be able to activate your device without the license key.
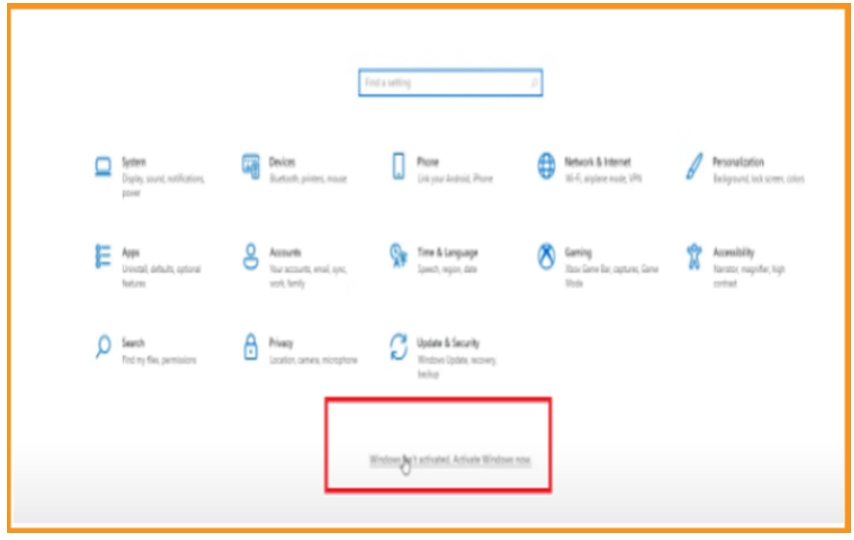
1. Click on the Start menu, then click on Settings .
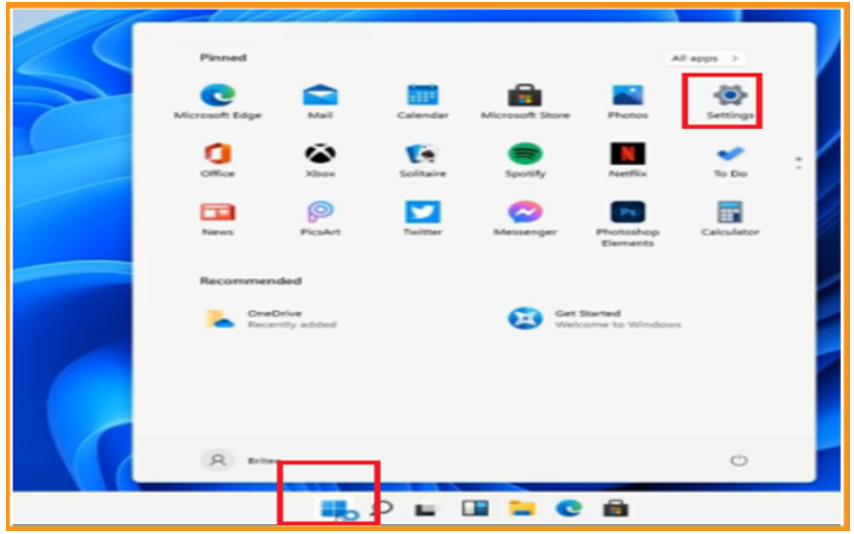
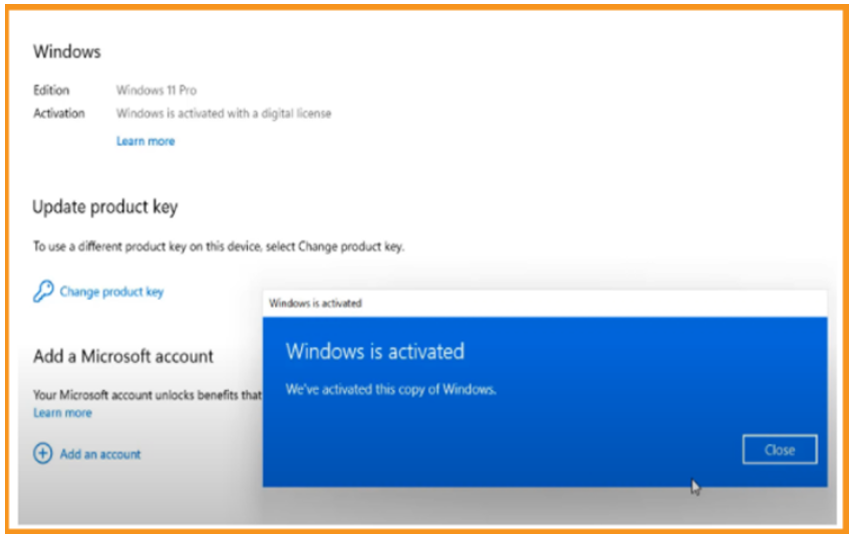
2. Press the button "Windows is not activated. Activate Windows now".
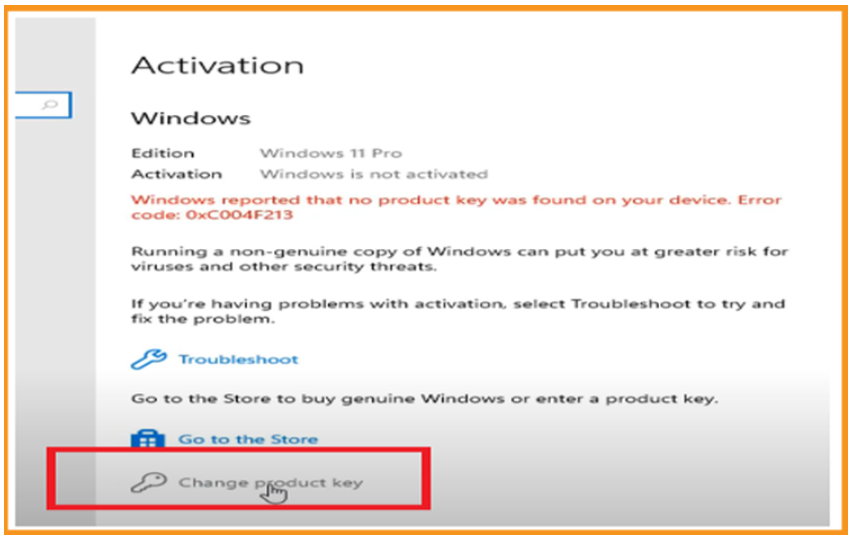
3. Press Change my product key
4. Type the product key you received when you purchased your Windows 11 license and click "Next".
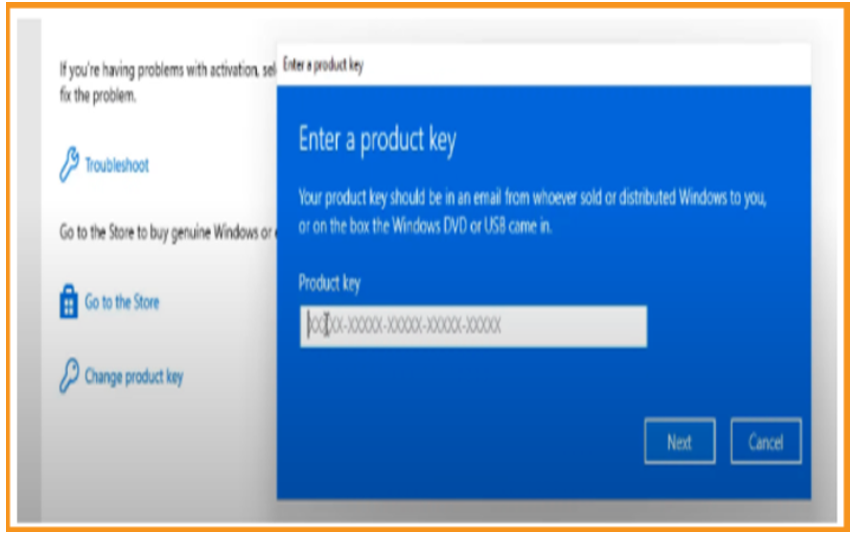
Congratulations! Your Windows 11 is now activated. You can now enjoy its features without any limit.